


Wednesday, July 31, 2013


Tuesday, July 30, 2013
Trash to Treasure -- Storage
Today I thought I would share some trash to treasure storage units I came across. Just click on the blog names to go to the tutorials.
This is shelving made from old shutters from Follow Your Heart Woodworking. This would look great in any room.
.jpg)
Here is a trunk made over into end-of-bed storage from The Vintage Magi:

Old bookshelf made into nifty storage by Remodel Aholic.

I don't know where this one came from but I really like the look of it. It is made from two old windows and two dresser drawers.

Thanks for visiting today.
Bette
Monday, July 29, 2013
Jacquie's Up-Cycle Nation: Beachy Bunting
Today's bunting idea sprang to life as I was moving office clutter to the trash bins in the garage.

These old CD's and DVD's have been clogging up my office drawers and glove compartment for years! I finally threw this shiny stack in the recycle bucket this morning. Good riddens!

But as I headed out of the garage, past the charity donation pile, the summery blues of my husband's cast off dress shirts caught my eye! Suddenly, visions of pin stripe buntings danced into my head!

I would need those CDs after all!
With a few additional sewing supplies, I was ready to roll out some bunting!

Each CD will need 3 strips of fabric approximately 1.5-2 inches wide by at least 12-18 inches long. The longer the strip the better, but when using scraps cut from garments getting consistent lengths can be difficult. I used the ripping method (cut a small start line and rip fabric instead of cutting entire strip with scissors). This leaves a soft, natural edge on the fabric.
Insert a strip through the CD's center hole. Use a finger to hold down end of starter ribbon and begin wrapping fabric strip around top of CD and back through center hole.

Continue wrapping in a counter-clockwise direction, overlapping the previous layer each time. As the fabric thickens in the center, use the pointy end of skinny paintbrush to assist in poking fabric through the center.

Tuck the strip end under the previous layer, using the paintbrush handle to secure in place. Start the next strip on top of the on top of the previous end. Wrap over tucked layer for extra coverage.

Once the CD has been covered in fabric, use a needle and thread to attach button centers. Start with a stitch to hold the last tuck in place at center.

With chosen button in center , stitch the button to the CD with stitches that go through to reverse side of the hole.

On reverse side, secure a second button over center to hide stitches. Secure to button on front by stitching through CD center hole, through front button holes, and through back button holes. Essentially sewing button to button like a CD sandwich. Continue until both buttons are secure.

Once all the CDs are finished they are ready to be attached to the twine.

Using a loop stitch, attach the CD to the twine. Reinforce loop by stitching at least three repeat loops on each CD.

From the stitched location on the twine measure out 10 inches and attach the next CD. Continue doing this until all the CDs have been attached.
Now your office drawers are freed up, those corporate power stripes have been softened up, and your fab new bunting is ready for showing off!

LOVE & UP-CYCLE NATION!!
Jacquie Wheeler
Hand of Bela Peck
Sunday, July 28, 2013
Blog Party Sunday --- Show Us Your Handmades
Welcome to our Blog Party Sunday. We would love to have you show us what you are crafting.
You are allowed to add 3 links to your shops or your blog.
The rules are simple:
1. Follow our blog
2. Handmade items only.
3. You may list up to 3 items each week.
4. Family friendly items only.
The success of this link party depends on the participants so spread the word to your friends, visit the shops, post about it on your blog, in a forum or on your favorite social networking site, grab the button and put it on your blog or website.
Just click on the Add Your Link button below and add your items.
And if you would like to add a link to the party you can grab this button below.
Saturday, July 27, 2013
Recipe - Chilled Corn Salad
I recently went to a family dinner and someone brought this yummy corn salad. I had to get the recipe as it was so good.
Corn Salad
3 - 15 oz. cans whole kernel corn (drained)
2 c. shredded cheddar cheese
1 c. light miracle whip
1 c. diced red bell peppers
1/2 c. diced red onion
1/2 bag (10.5 oz.) Chili Cheese Fritos (crushed)
Mix all ingredients except fritos and chill. Add crushed fritos just before serving.
This fills an 8x8 square dish.


Enjoy!
Deena Davis
www.byyourhands.blogspot.com
Friday, July 26, 2013
Today's Featured Shop -- Springtime Designs
Today's featured shop is Springtime Designs. There are so many cute patterns in this shop it was hard to choose which ones to show.
PDF Papillon SEWING PATTERN for a Toy Stuffed Animal Puppy

PDF Baby Doll SEWING PATTERN 16 inch "Penny" Jointed Toy Cloth RagDoll with Sleeper

PDF Mouse SEWING PATTERN Stuffed Animal Toy

Puppy Dog SEWING PATTERN for a 10" Terrier Jointed Mohair Stuffed Animal

Be sure and visit Springtime Designs to see all the patterns.
https://www.etsy.com/shop/SpringtimeDesigns
Thursday, July 25, 2013
Witches Stiches - Sewing Paper Pets
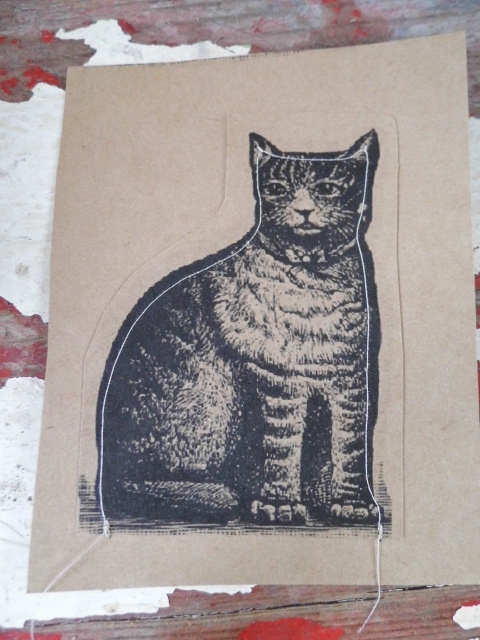
Sewing Paper Pets
I love the look of antique animal and vegetable prints. The ink drawings have such character to them. I was looking at one of the pictures I found and saved to my laptop. I thought how nice this would look if I somehow could cut it out and make it stand on my mantel. I have sewn paper before so I thought it would be easy and it is!!
Here is what I did to make these great Paper Pets.
1 – First find a print you love that is not too busy, keep in mind you have to be able to sew around its outline. Make sure the image is not copyright protected. I chose paper cats.
3 – You will need heavy card stock paper to print your image on. I have used card stock that looks like brown craft paper for my cats. I like the antique look it gives my projects. You can choose whatever color you want.

4 – Now print your picture on the card stock. Remove from printer and rough cut around the image leaving about an inch on all sides.
 5 – Place your rough cut image on top of a blank piece of the same color card stock. Sew just inside the print line around the image, leaving the bottom open.
 6 – Cut out your image along the print line. Make sure you cut the bottom straight so it will stand up.

7 – Now slightly open your paper image at the bottom and lightly stuff the inside with fiberfill. If you have a stuffing fork it will come in handy and make it easy to do. Make sure you use very small pieces of stuffing. If you over stuff or use to large of a piece at one time you may bend and crease your image. Only stuff it half way down.
8 – The stuffing should make the open section stay slightly open and stand by itself. You can glue a piece of paper in the inside over the fiberfill if you want but it is not necessary, unless you intend to show off the bottom.

10 – Now stand your chosen print on a mantle, (that is where mine is), shelf or cupboard. This makes a great decorating addition and because it is so easy to make they make nice handmade gifts or even place cards at your holiday dinner table. Just write each person’s name on the back and they can take it home as a keepsake of time spent with family and friends.

I love the look of antique animal and vegetable prints. The ink drawings have such character to them. I was looking at one of the pictures I found and saved to my laptop. I thought how nice this would look if I somehow could cut it out and make it stand on my mantel. I have sewn paper before so I thought it would be easy and it is!!
Here is what I did to make these great Paper Pets.
1 – First find a print you love that is not too busy, keep in mind you have to be able to sew around its outline. Make sure the image is not copyright protected. I chose paper cats.
2 – Save the picture you have chosen to a printable
document. I use “Word” to save mine. But you can use whatever program you want.
3 – You will need heavy card stock paper to print your image on. I have used card stock that looks like brown craft paper for my cats. I like the antique look it gives my projects. You can choose whatever color you want.


7 – Now slightly open your paper image at the bottom and lightly stuff the inside with fiberfill. If you have a stuffing fork it will come in handy and make it easy to do. Make sure you use very small pieces of stuffing. If you over stuff or use to large of a piece at one time you may bend and crease your image. Only stuff it half way down.
8 – The stuffing should make the open section stay slightly open and stand by itself. You can glue a piece of paper in the inside over the fiberfill if you want but it is not necessary, unless you intend to show off the bottom.

9 – If your piece does not stand quite straight look to see where you need to trim a bit of paper off the bottom. Trim it in very small slivers; you can always trim more if needed.

Wednesday, July 24, 2013
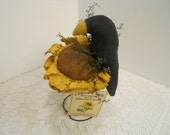
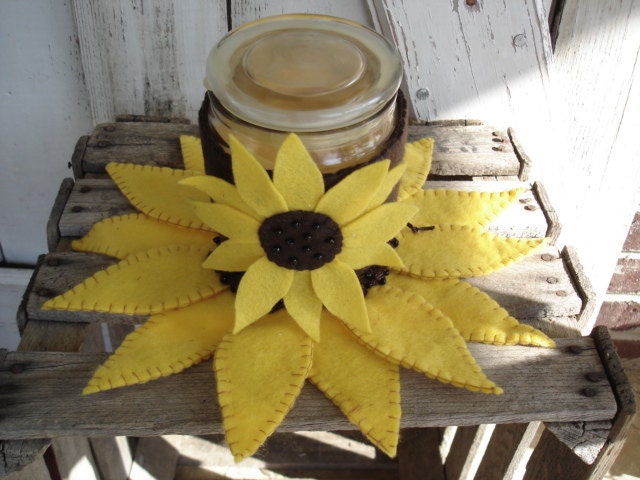
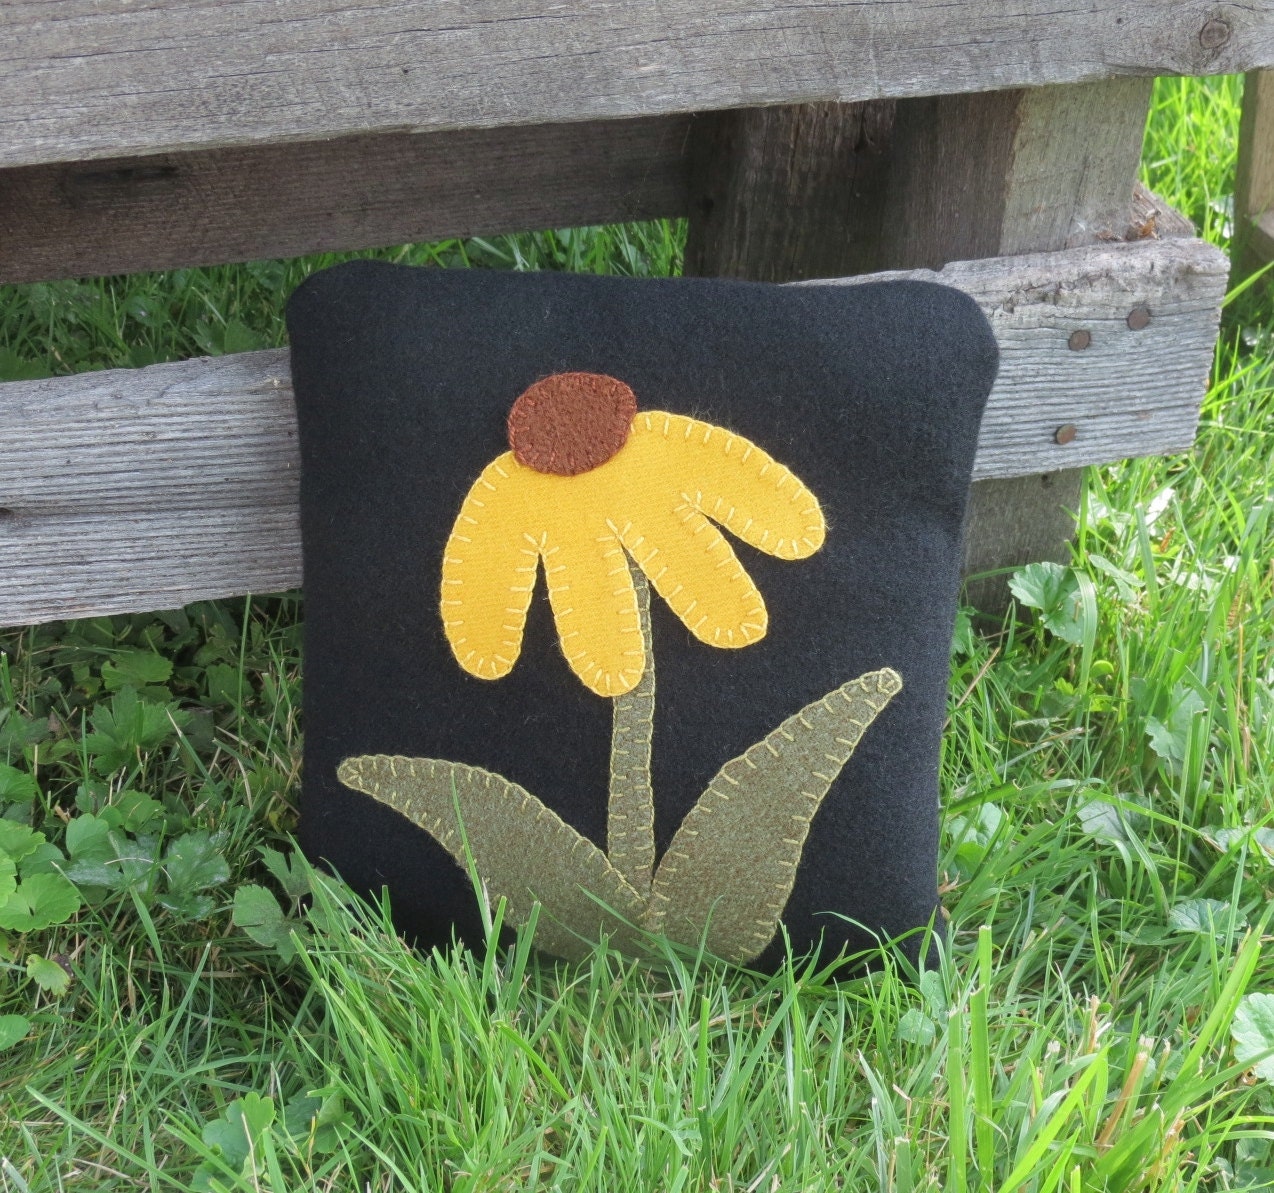
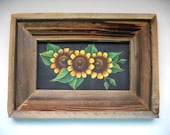
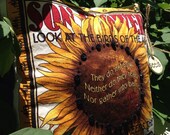
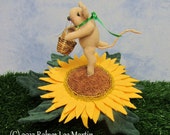
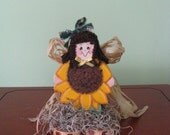
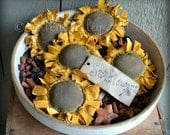
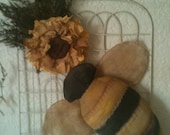
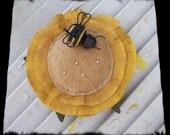
Handmade Spotlight - Sunflowers
Check out this great selection of sunflowers. You can view this entire treasury
by Clicking Here, or you can click on each item to see it in greater detail.

Sponsored by send bulk email from excel.
Subscribe to:
Posts (Atom)


